How to Install Your 3 Boyz Printz Hitch Cover (With Video)
By 3 Boyz Printz · October 4, 2026
Installing your 3 Boyz Printz hitch cover takes less than a minute and doesn't need any tools. Every cover gives you two ways to hold it in place: our snap-in clip (included) or your own hitch pin. Watch the quick video below, then follow the step-by-step instructions.
What's in the box
- Your hitch cover
- The snap-in clip (the small black piece)
A hitch pin is not included. You only need one if you'd rather use a pin instead of the clip.
Before you start
- Check your receiver size. Our covers fit standard 2-inch hitch receivers, the size on most pickups and SUVs. See our Hitch Cover Buying Guide if you're not sure.
- Remove any hitch mount (ball mount, bike rack, etc.) and its pin from the receiver.
- Clear out the receiver. Knock out any dirt, ice or debris so the cover can slide all the way in.
Option 1: Install with the snap-in clip
- Attach the clip to the cover. Find the hole on the side of the hitch cover's square stem (the part that goes into the receiver). Press the snap-in clip into that hole until it seats.
- Line up the cover with the receiver. Hold the cover so the design is right-side up and the stem points straight into the receiver opening.
- Push it in until it clicks. Slide the cover straight into the receiver and give it a firm push. You'll feel it click into place.
- Give it a tug. Pull gently to make sure it's snug. The clip holds the cover tightly, so it won't rattle loose on the road.
Option 2: Install with your own hitch pin
Prefer a pin? Many people use a locking hitch pin for extra security.
- Remove the snap-in clip from the cover's stem if it's attached. Just pull it out.
- Slide the cover into the receiver until the hole in the cover's stem lines up with the pin holes on the sides of the receiver.
- Insert your hitch pin through the receiver and the cover, then secure it with its clip or lock, just like you would with a ball mount.
Removing your hitch cover
- Clip method: grip the cover and pull it straight out of the receiver with a firm, steady pull.
- Hitch pin method: remove the hitch pin first, then slide the cover out.
Pull your cover whenever you need to tow, then pop it back in when you're done.
Tips
- Winter: if ice has built up in the receiver, clear it out before installing so the cover seats fully.
- Keep it clean: rinse the cover when you wash your vehicle, especially after driving on salted roads.
- Check it now and then: after off-road trips, make sure the cover is still snug.
- Don't lose the clip: if you switch to a hitch pin, keep the clip in your glove box so you can switch back anytime.
Need a hitch cover?
We design and 3D print our hitch covers in Ohio, in lots of designs and accent colors:
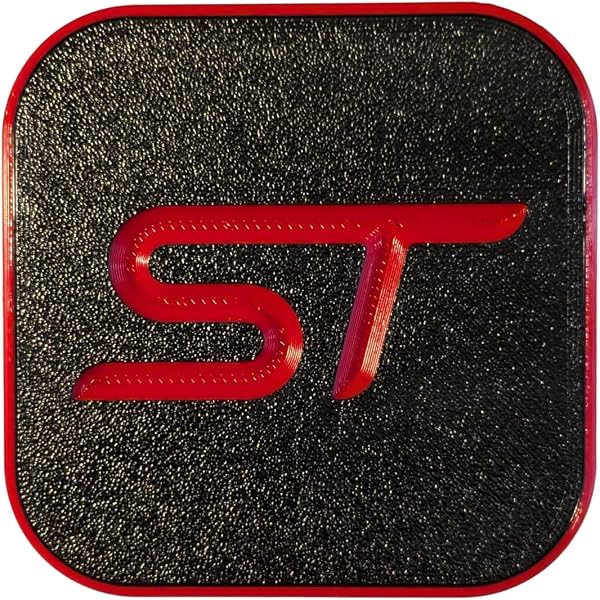
- ST Hitch Cover (shown in the video), TRX, RHO, AT4, RST and TrailBoss
- Taco and YOTA
- Rubber Duck and Pumpkin
Questions about installing yours? Send us a message and we'll help.